Starting the interbase server manager
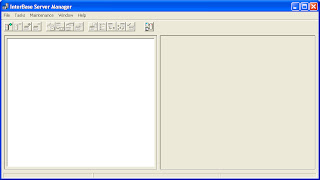
Run the interbase server manager from the folder on start menu. Then the interbase sever manager form will appear as the picture shown below.

Logging in interbase server
First you need to log in to the local interbase sever. Choose File – Server Login as the picture shown below.
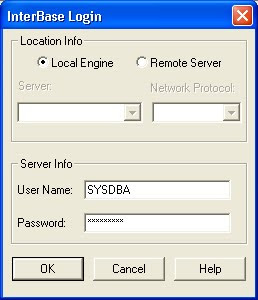
Then the interbase login form will appear

Input the user name : SYSDBA. It is the default user. Type the password : masterkey. Then press OK.
After you log in, the interbase server manager will show the connection and the server summary.
The picture shows that you have been connected to the local server, and the user being connected is SYSDBA
Creating a new user
To start creating a new user, choose Tasks – User Security as the picture shown below.
Then the interbase security form will appear
Type your new user name. Type and re-type your 8 character password. If you type more than 8 characters, the rest of them will not be used. Then click OK. A new user has been created as shown below.
Go to Next Tutorial


